Manual Intervention
Manual intervention is a functionality that allows you to record a Manual Test Set, generate evidences together with the step results and upload it to ALM. This will help you to save time and test in an agile way in those cases where automation is not possible.
Setup
-
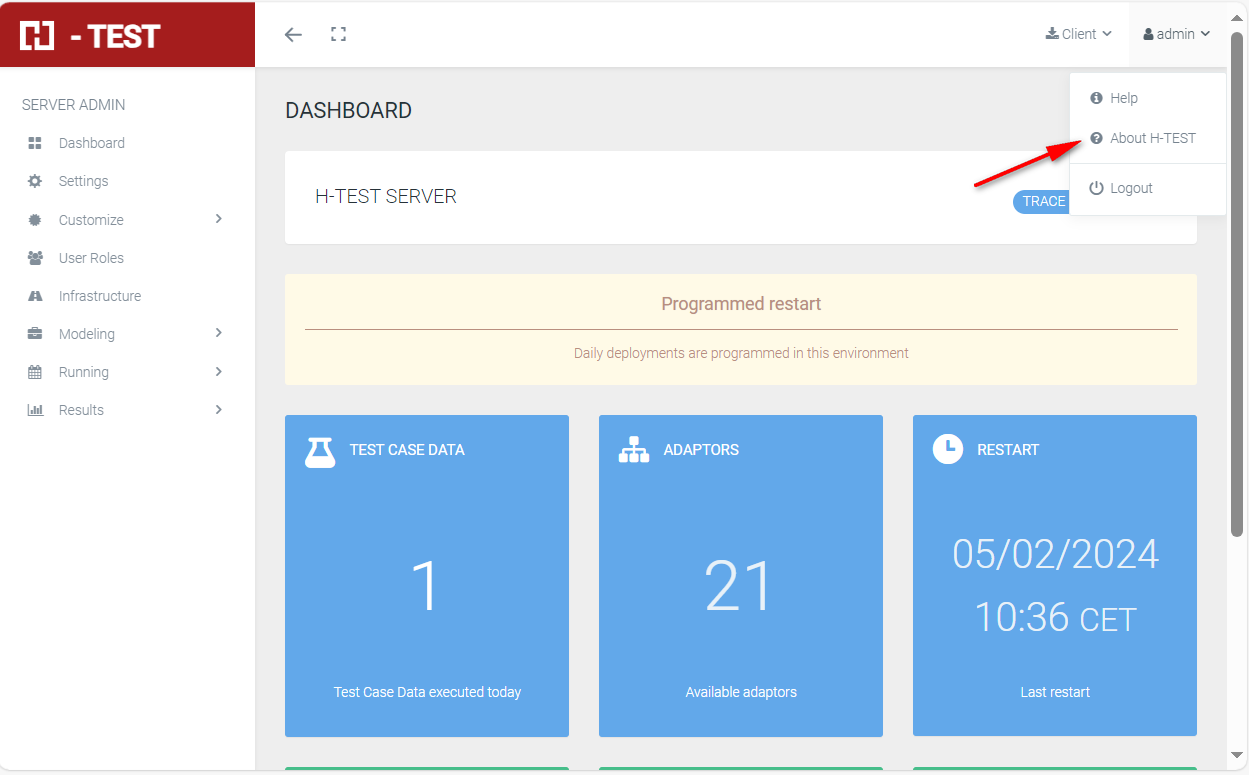
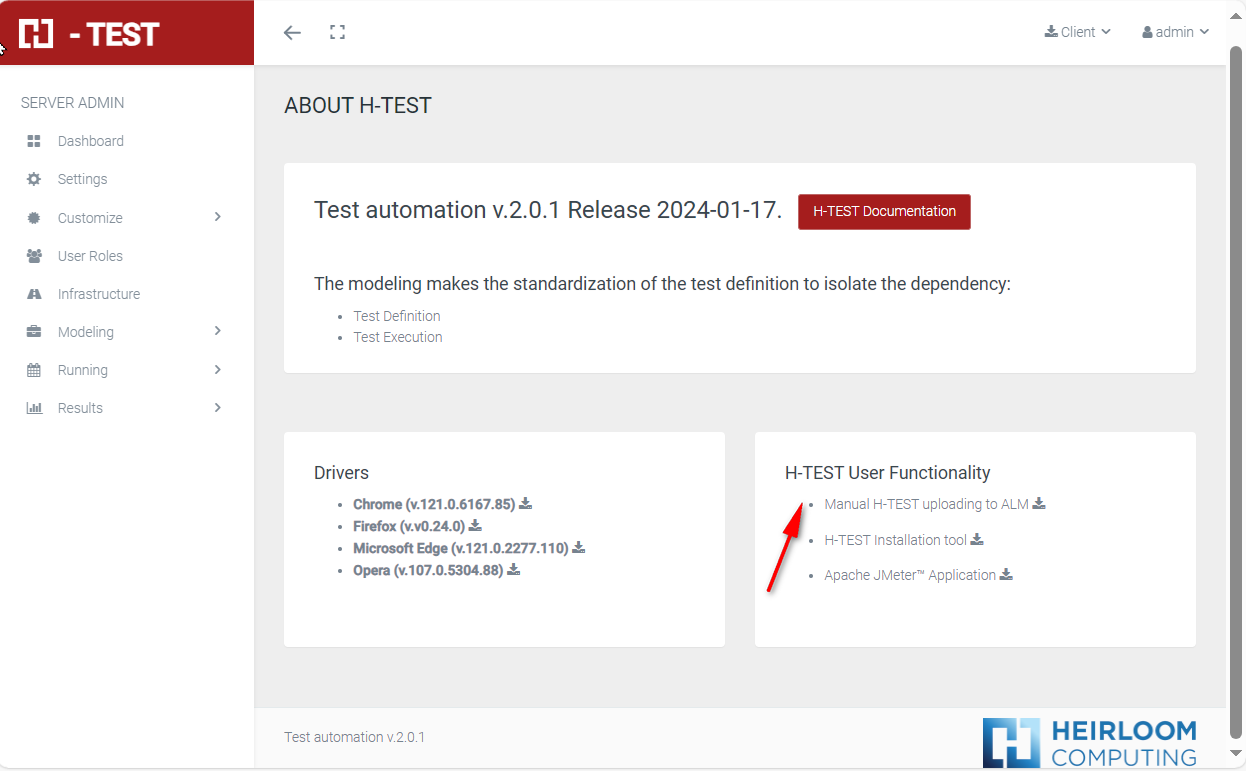
Go to “About H-TEST” and download the “Manual H-Test uploading to ALM”.
-
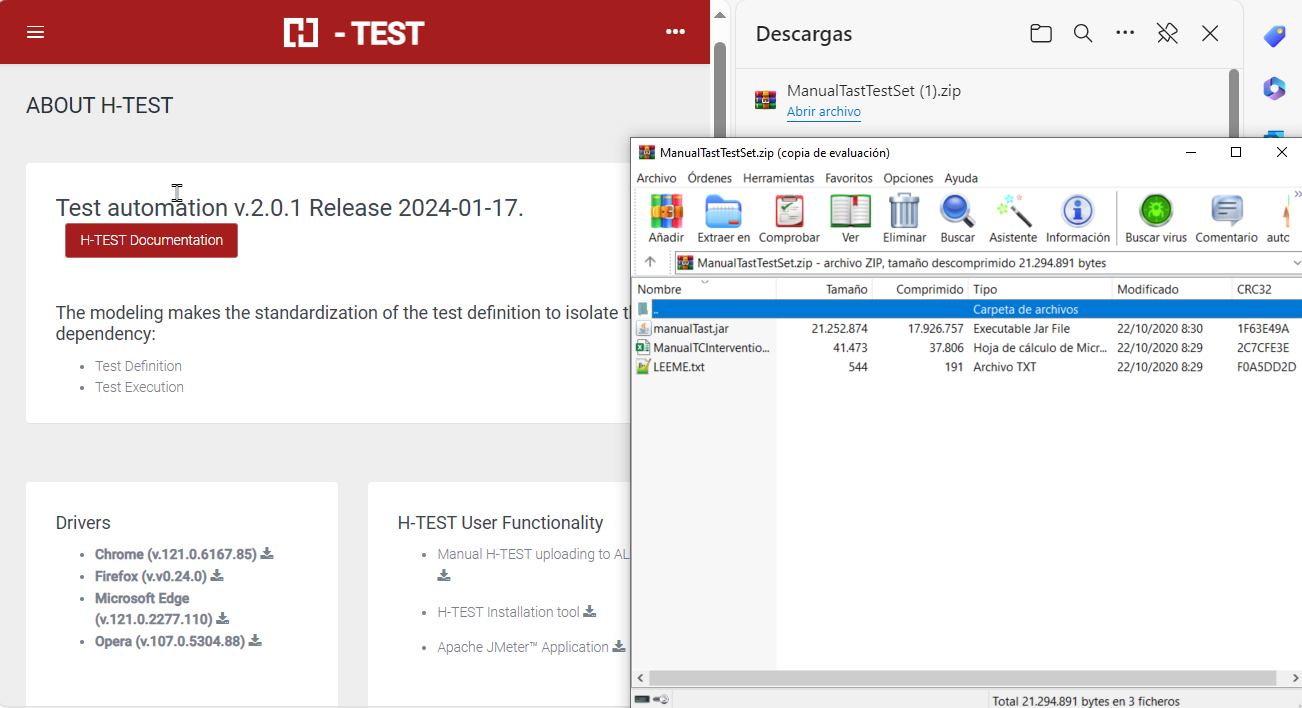
Open the zip file and extract the files in a new folder: “C:\
AppTast/AppTast\ManualTastTestSet”.
-
You're ready to go now.
Recording a Test
To start a Manual Intervention you can choose two options:
-
You can use use the H-TEST Client to run a diagram that contains the Predefined Function “manualH-Test”
-
Enter in the command line: java -jar C:\\AppTast\\ManualTastTestSet\\manualTast.jar pathDirLog
-
Example: java -jar C:\\AppTast\\ManualTastTestSet\\manualTast.jar C:\AppTast\LOGS_TEST
-
Once you start the process a first screen will be shown:
NECESITO IMAGEN
You can type the name of the test case in the field, and click “Yes” to start. Clicking “No” will stop the process.
Once you click “Yes”, a second screen will be shown:
NECESITO IMAGEN
Now you can start your Test Case; every time you want to create an evidence, clik “OK” if the result of the step was correct, or “KO” otherwise. You can create as many evidences as you want, and you are allowed to provide a specific name for each of them.
-
Clicking on “Finish” will finish the Test Case and return to the first screen, in case you want to generate another Test Case. You can create as many Test Cases as you want.
-
Clicking “No” on the TC creation screen will lead you to the ALM Upload screen:
NECESITO IMAGEN
This screen allows you to define the parameters of the Upload to ALM:
-
ALM Domain.
-
ALM Project.
-
ALM User: the user you want to store the evidences with.
-
TestPlan Folder: it is important that TestPlan folder path starts with “Subject/”, otherwise ALM will not be able to store it.
-
TestLab Folder: it is important that TestLab folder path starts with “Root/”, otherwise ALM will not be able to store it.
-
TestSet Name.
Clicking on “Upload to ALM” will trigger the upload; after it you can check the results in ALM as usual.
It is important to remember that if you marked any of the steps as “KO”, the Test Case will be uploaded as “KO”; only if all the steps are marked as “OK” will the TC be uploaded as “OK”