XML Adaptor example
Description
The XML adapter allows you to interact with an .xml file, offering a set of Predefined Functions so that you can retrieve, review and modify the contents of the file. It also allows you to save the modified document.
Statement of the exercise
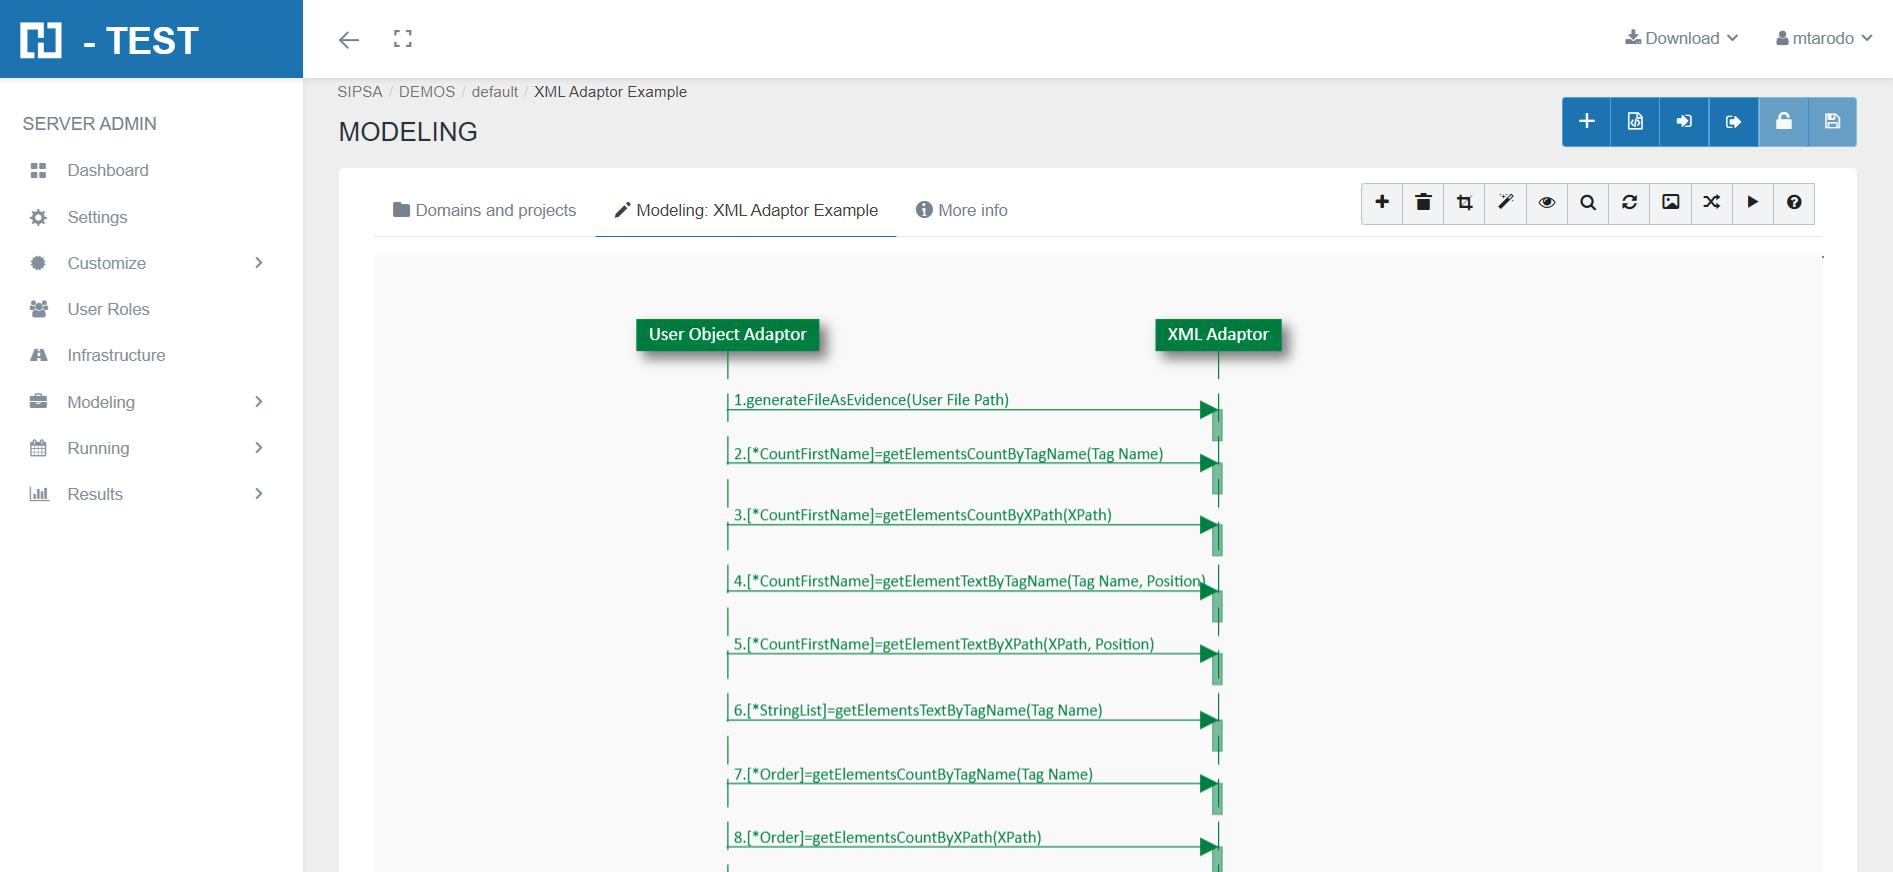
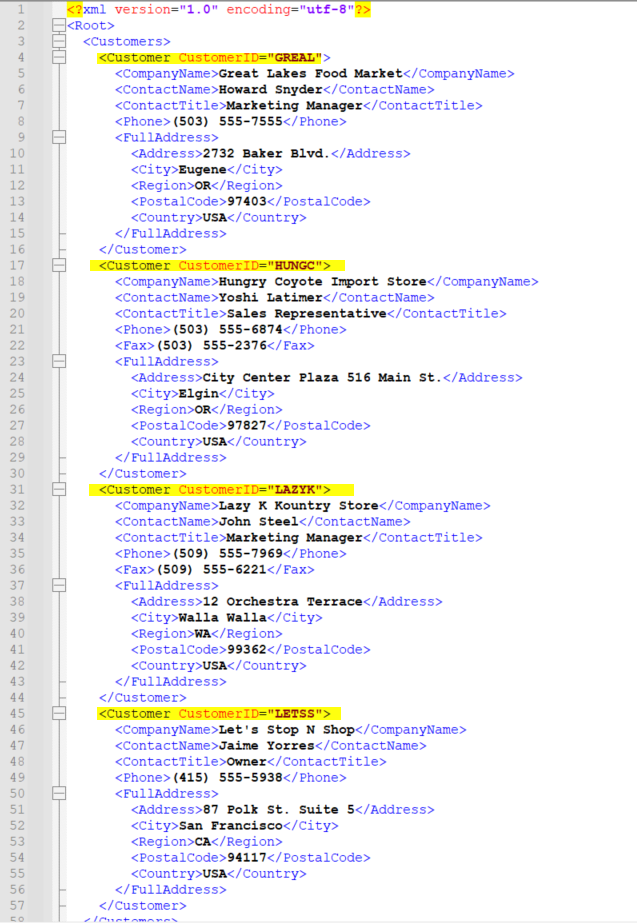
In this example we start from an XML file. We will ask H-TEST to generate a copy of this file in its current state, to be added as evidence. Then to return the number of occurrences of an element, searching by its TagName and also by its XPath; then to collect the text string of the array elements, searching by XPath and by its TagName; to replace the element text, searching by Tag Name
and Position. Finally we will save this new XML file with these changes in the path that we indicate and with the name that we assign to it.
Solving the test case
As a part of the mapping process, you should provide the adaptor’s information, regarding to connect and use it. As initialization parameter we will indicate the complete path of the file (File Path)
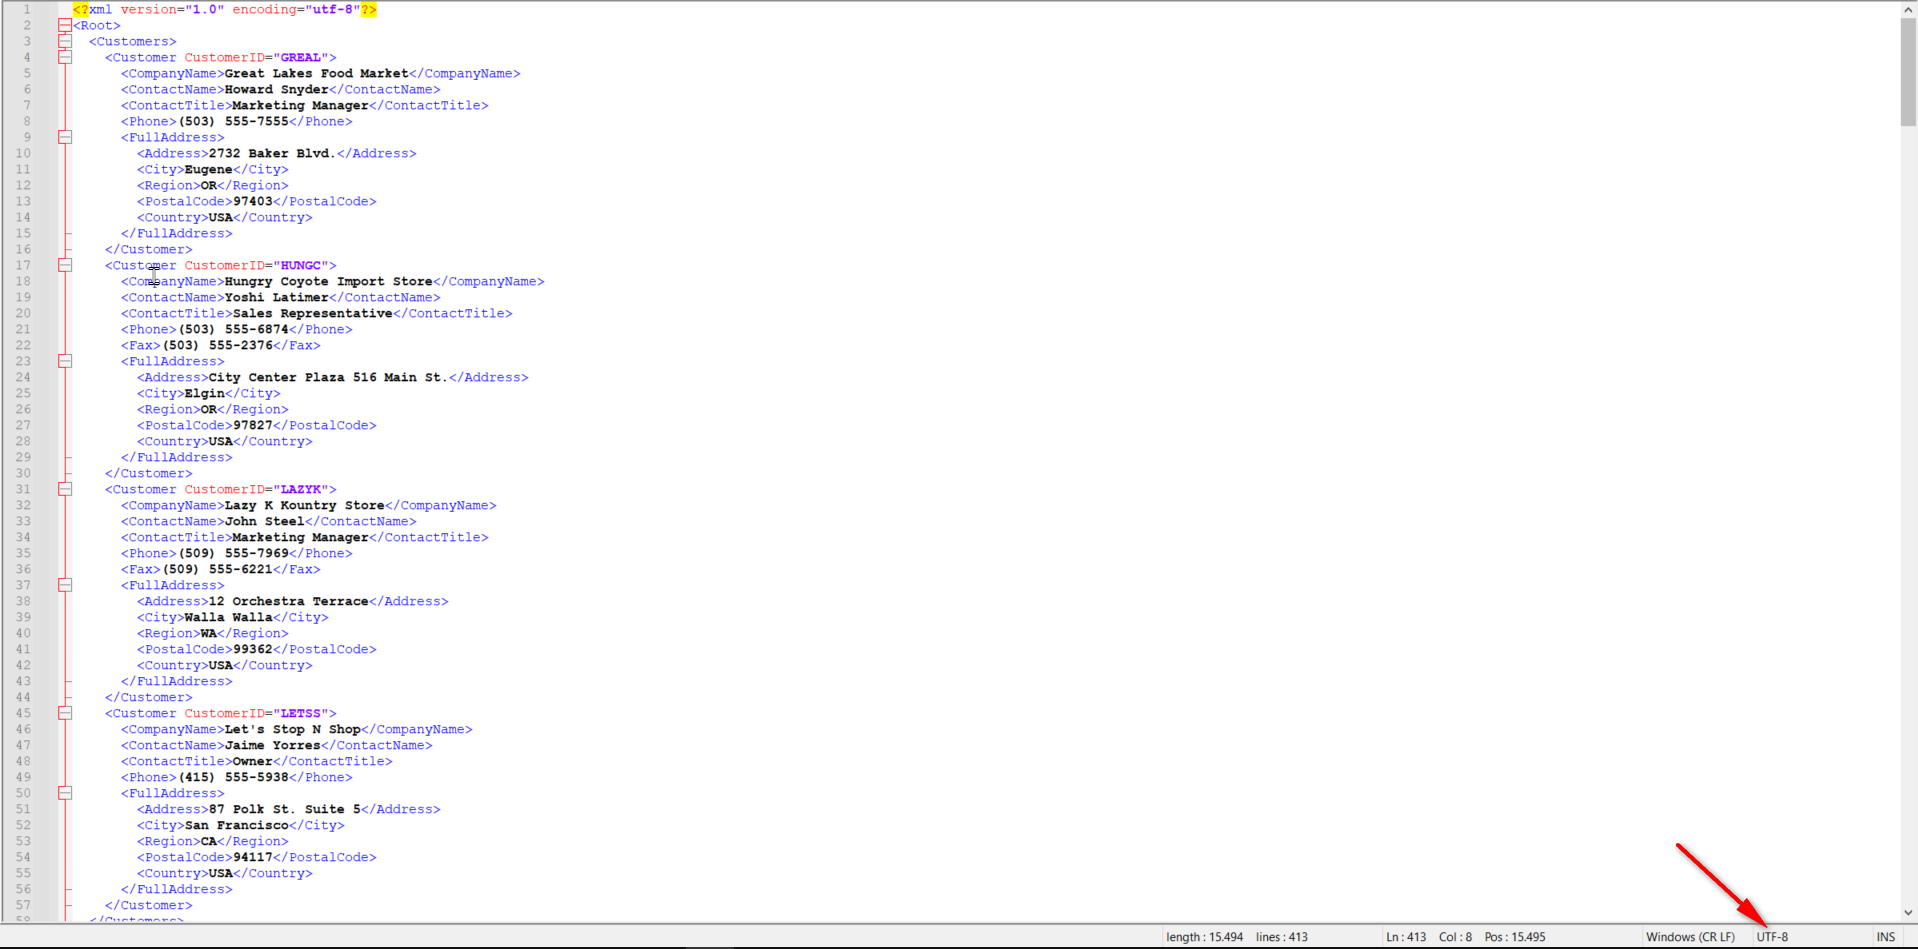
- FilePath: complete path of the file: C:\temp\XML\Example2.xml
Functions we have used with XML Adaptor:
- generateFileAsEvidence(): the function generates a copy of the XML file in its current state, to be added as evidence. It does not require an input parameter.
- getElementsCountByTagName(TagName): returns the number of occurrences of the element, searching by TagName.
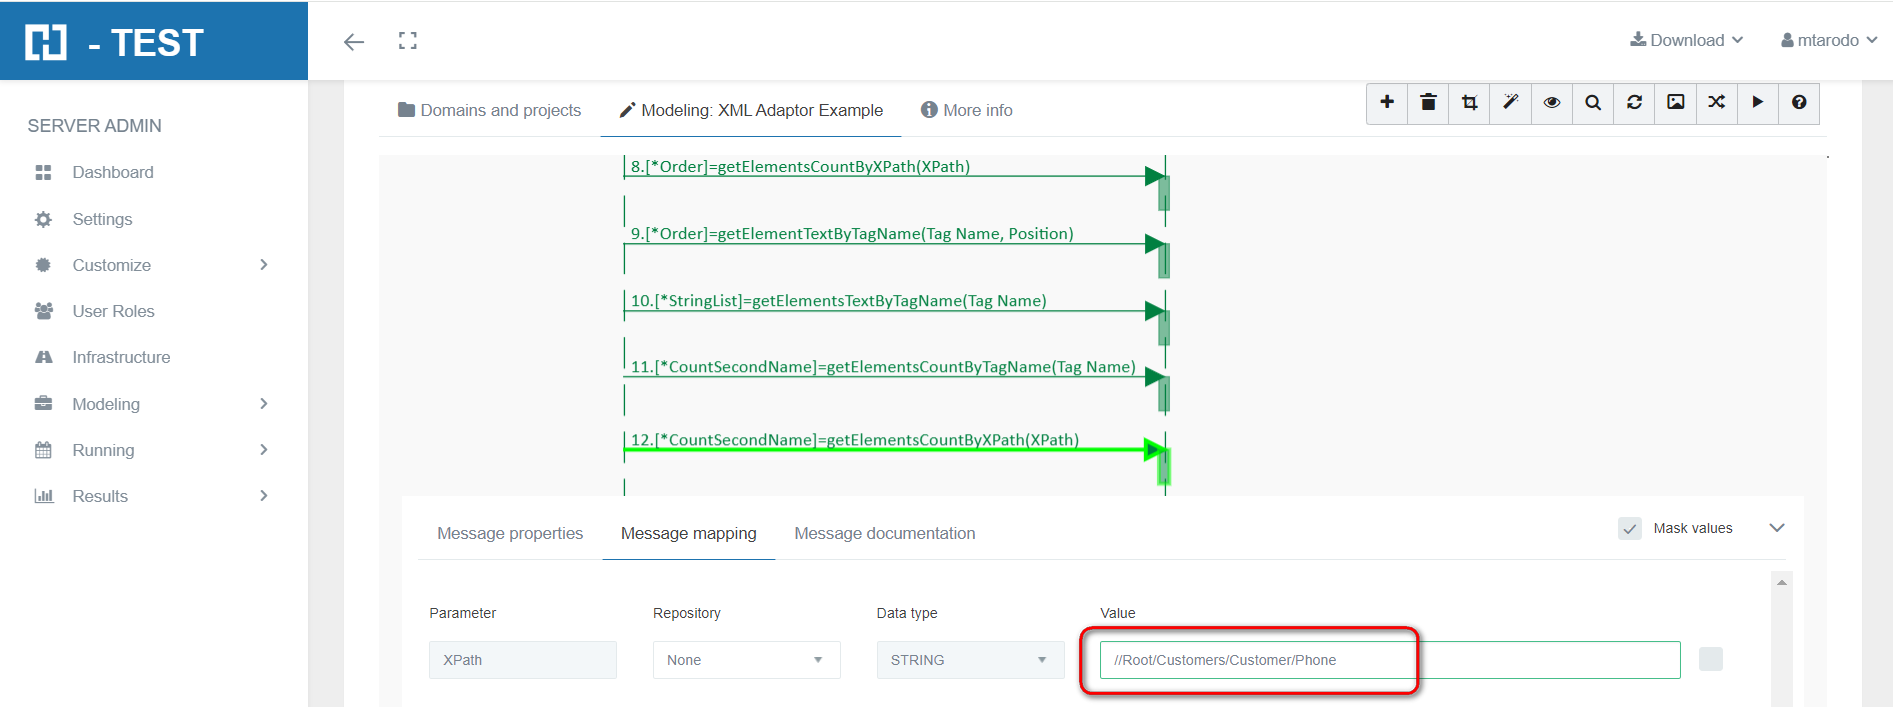
- getElementsCountByXPath(XPath): returns the number of occurrences of the element, searching by XPath. We have to add at the beginning a /.
- getElementTextByTagName(TagName, Position): returns the text of the element, searching by TagName and Position.
- replaceElementTextByXPath(Xpath, Position, New Text): replaces the element´s text, searching by XPath and Position. We have to add at the beginning a /.
- saveAs(Path, FileName): saves XML to the user path. Saves to the log folder if the path is not specified.
You can also make the search by its XPath. We can do it either by pressing (Ctrl + Shift + P) or through the Plugins > XML Tools > Current XML Path tab.
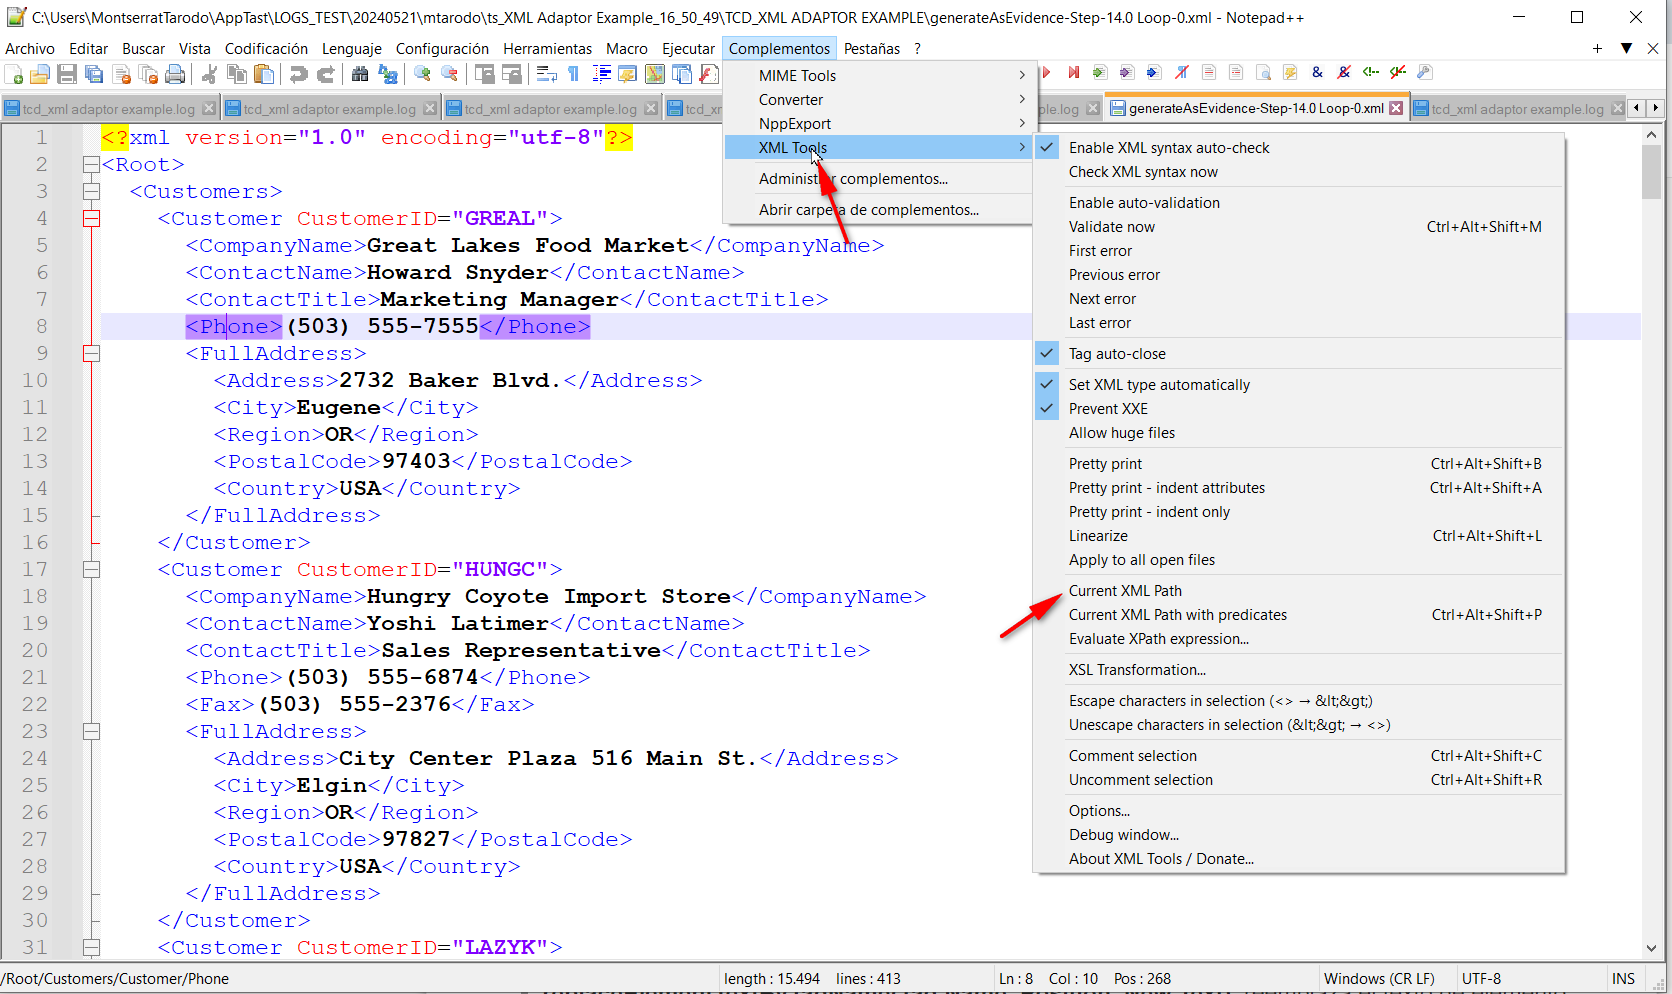
It will be copied to the Clipboard, until we add it in the Mapping tab of the object.
File needed to run the case
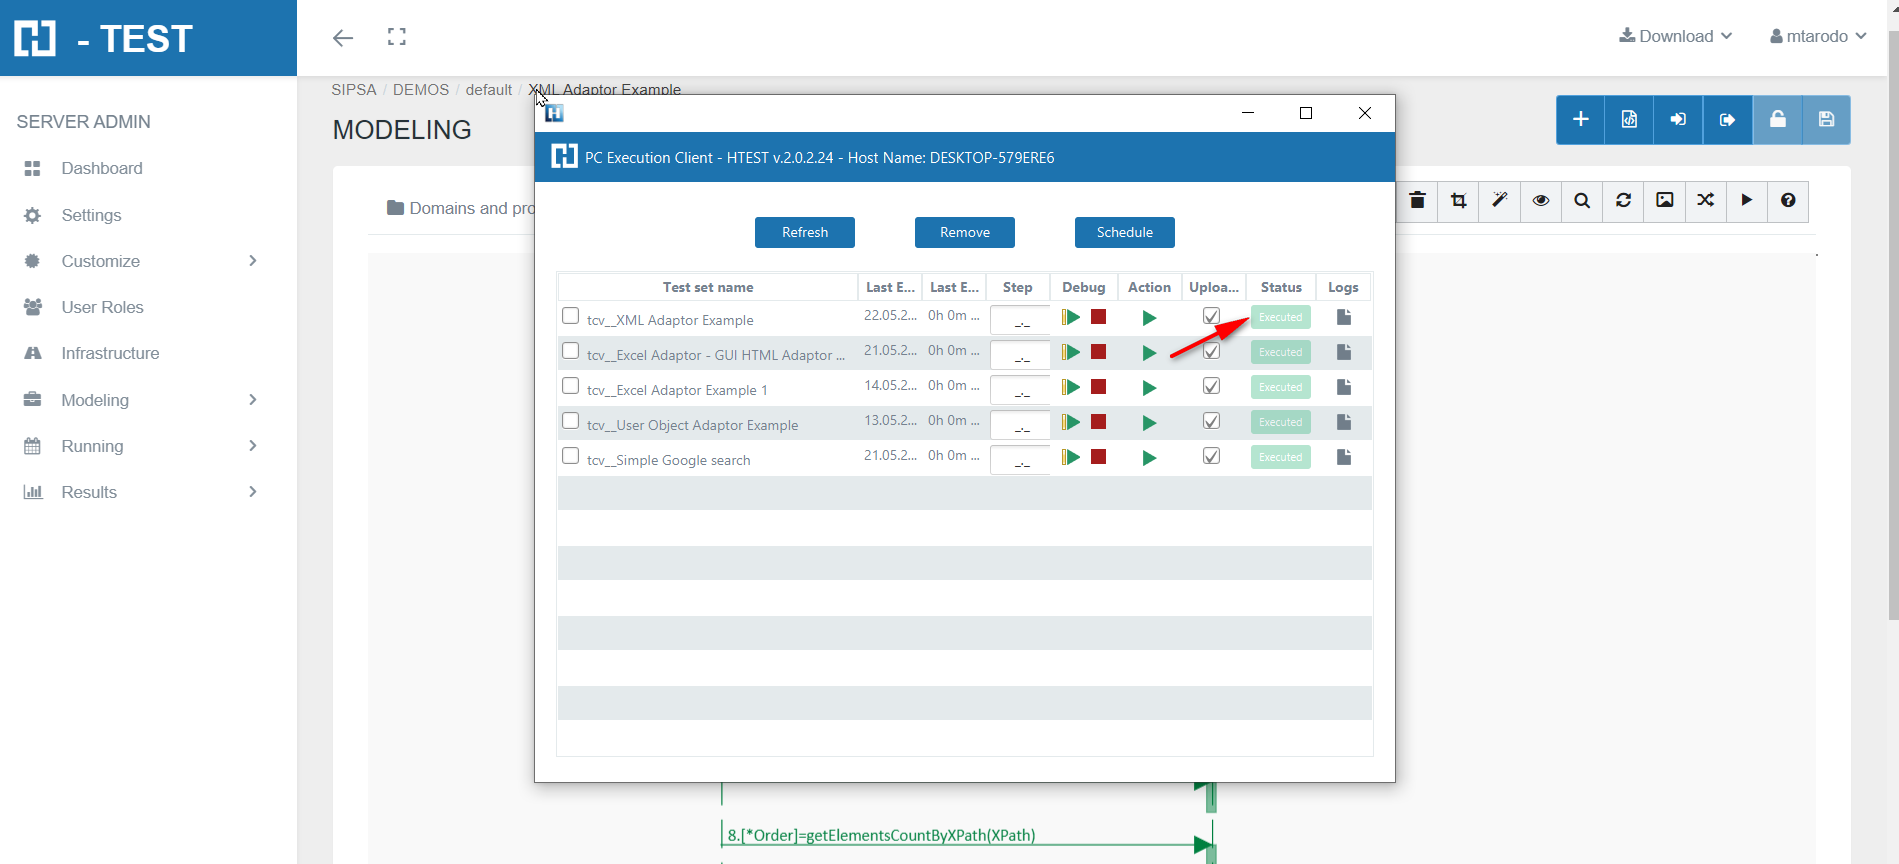
Test Set Execution
When we finish executing this test case, we see if it has been executed correctly:
Capture of results
We then open the icon on the right (marked with a red arrow) and we have as a result the evidence folder, where both the log of the execution is stored, as well as all the screenshots, files, etc... if we have checked the "Evidence" box in the general settings of the diagram.
Evidence folder


When returning the results, H-TEST returns a Word document, detailing the steps we have taken, the results obtained from each step, the links to the diagram and the test set, if we have clicked on download document in the Results box.