Image Adapter Examples
Introduction
The image adapter allows you to compare two images. It should be clear that images are compared pixel by pixel. That is why a function has been created to compare and return the percentage of the difference:
-
If the images are the same, pixel for pixel, the difference is 0, i.e., they are identical.
-
If there is any variation, i.e., if the photo has been resized or the colour has been changed, the percentage will be between 0 and 10.
-
If the images being compared are totally different, the percentage will be between 11 and 20.
Initialization parameters
The imagen adapter has only one parameter. This parameter is the path to the image we want to work with:
-
FilePath: full path where the image is stored.
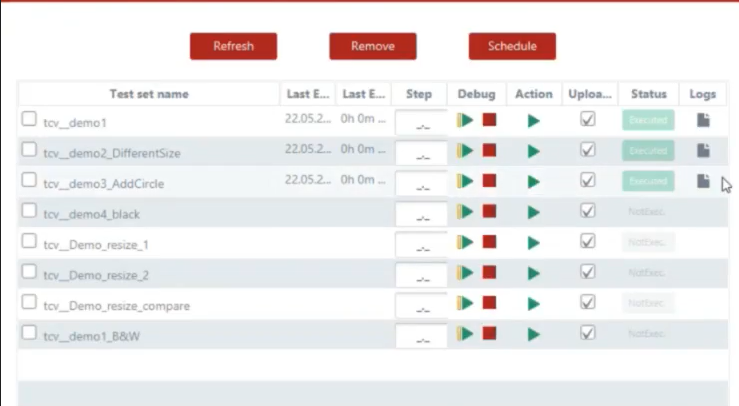
Predefined functions (PF)
-
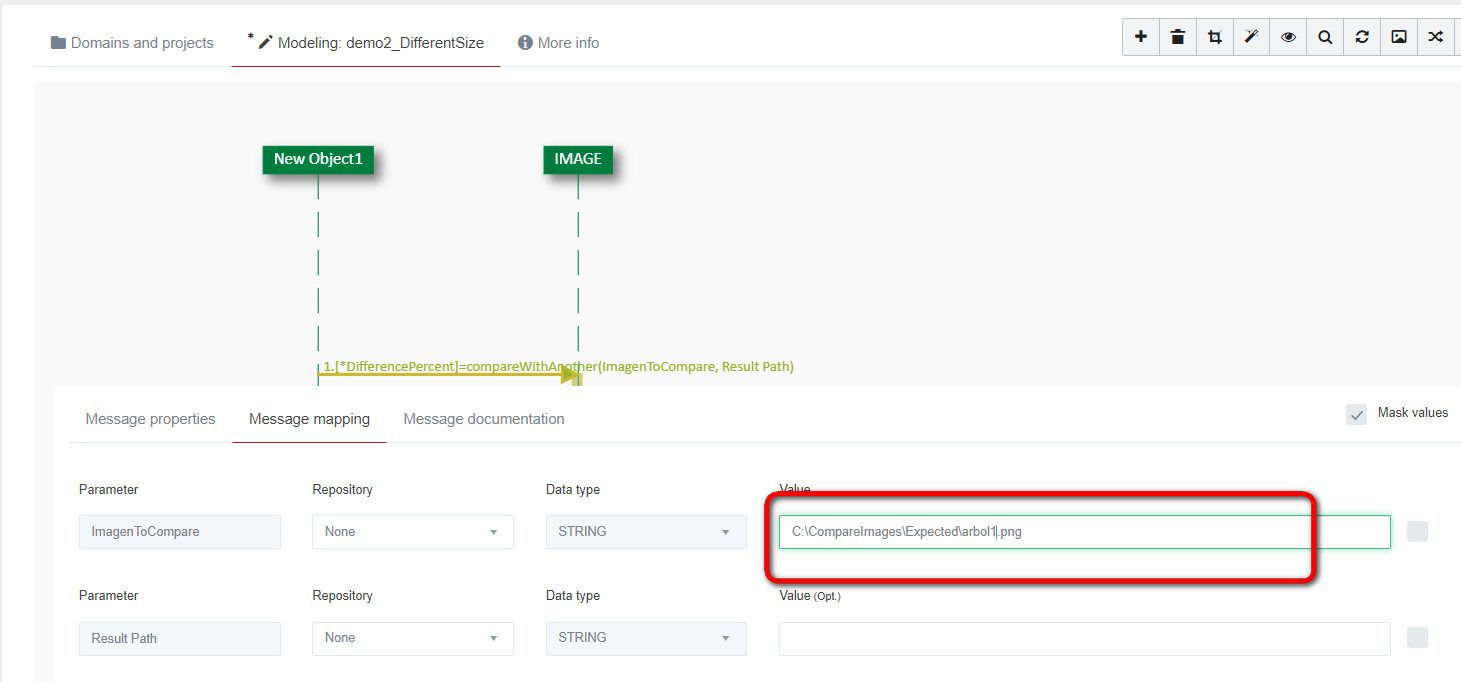
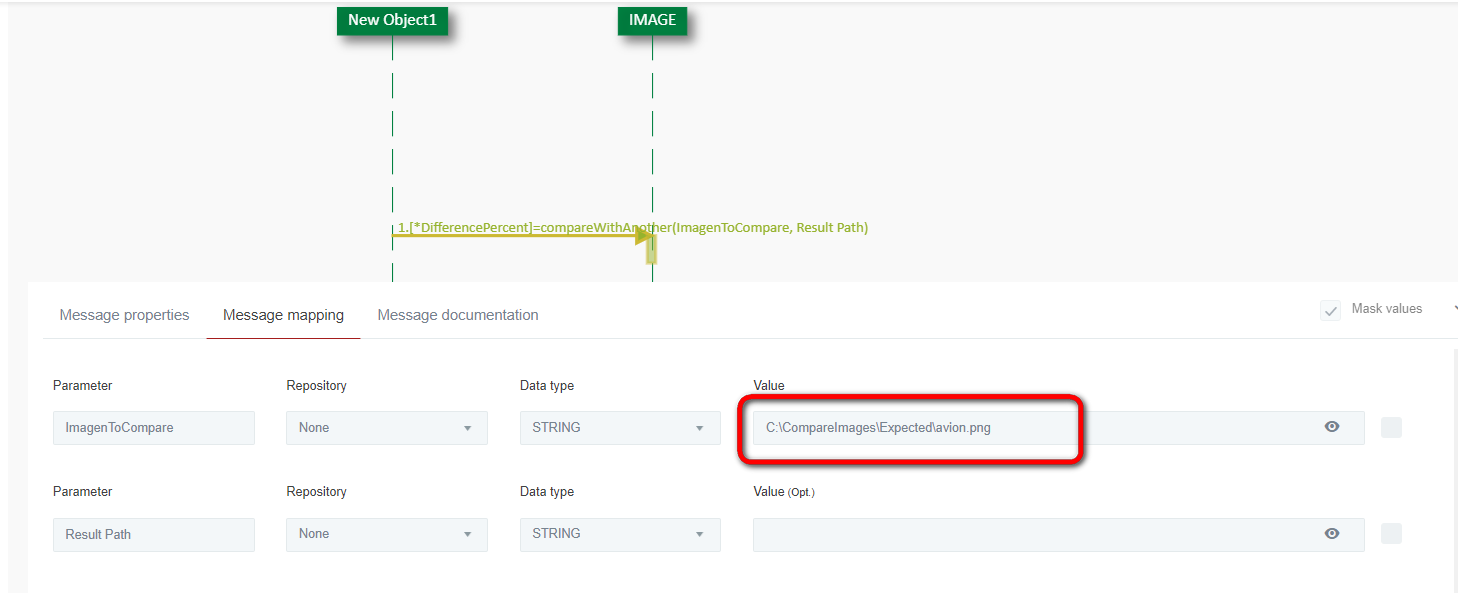
compareWithAnother: compares the image of the adapter with another image. It has two input and one output parameter:
-
ImageToCompare: path of the image to compare. This is mandatory.
-
ResultPath: path to the folder to leave the result. This is optional. If empty, the resulting image Will be in the TCD path. The new image will be an image with red rectangles marking the difference between images.
-
DifferencePercent: output parameter. It is a double data type and gives information about the percentage difference.
Let´s look at some examples:
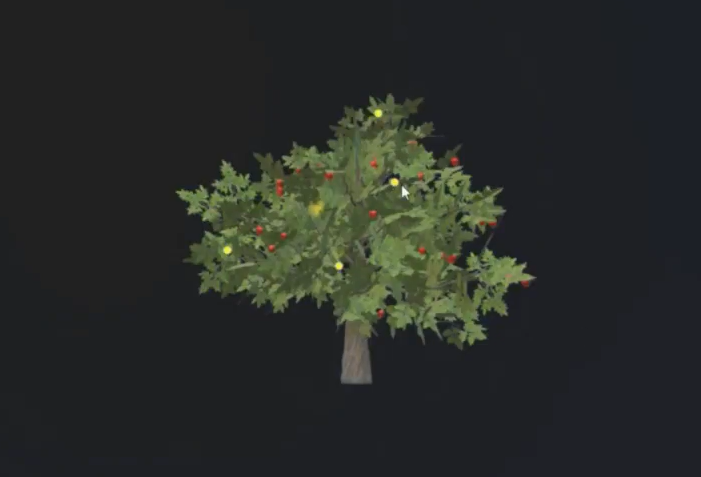
First example: comparing identical images.
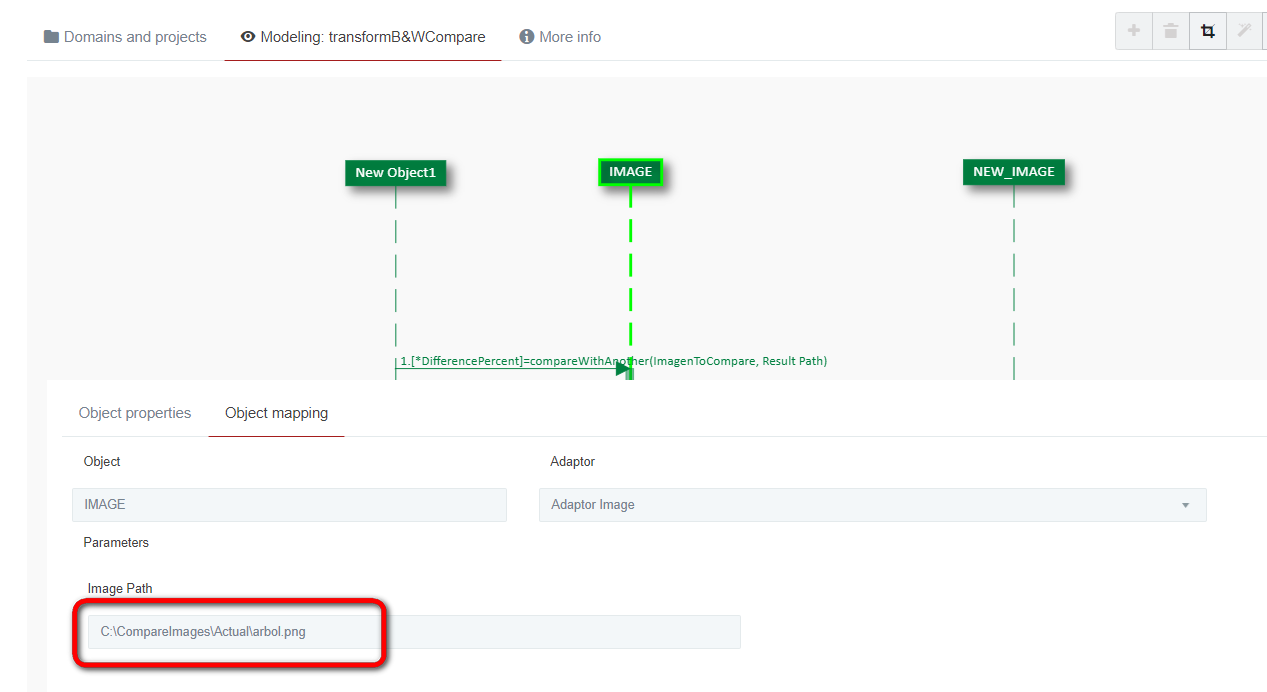
The image adapter Will have as its only parameter the path to the image you want to work with:
If we want to compare this image with another one, we have to use this function and put inside in the path of the other image we want to compare:
Note: where to sabe the resulting image is optional. If we put a path, it will be saved in that path. If nothing is specified, it will be saved in the TCD directory.
As they are exactly the same image:
When running the test case: IMAGEN NO VALE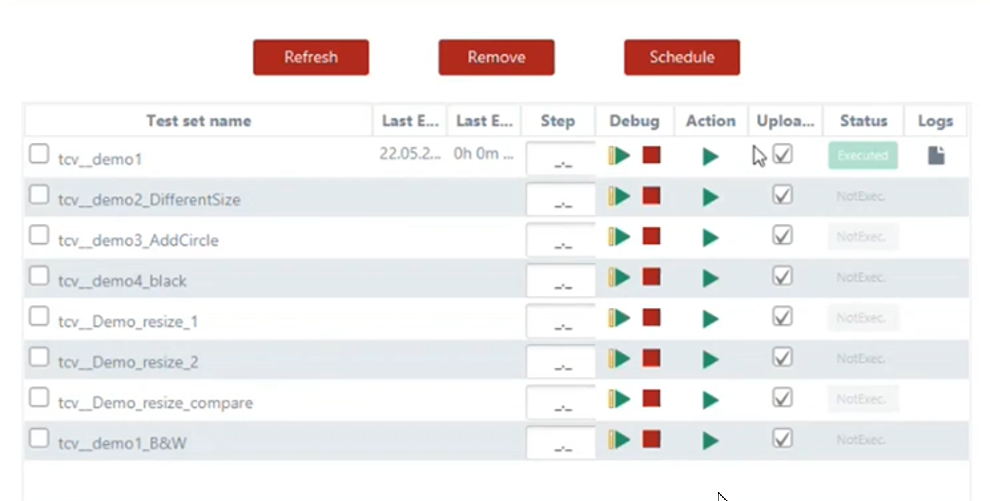
The result will say that there is zero difference:
The output variable Will be a double, so that it has decimals.
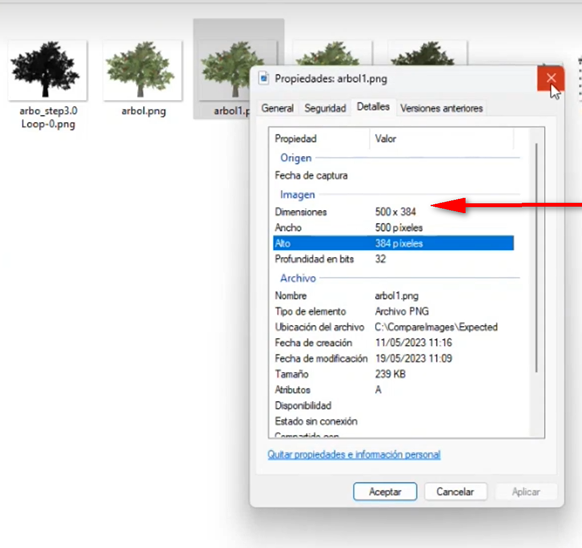
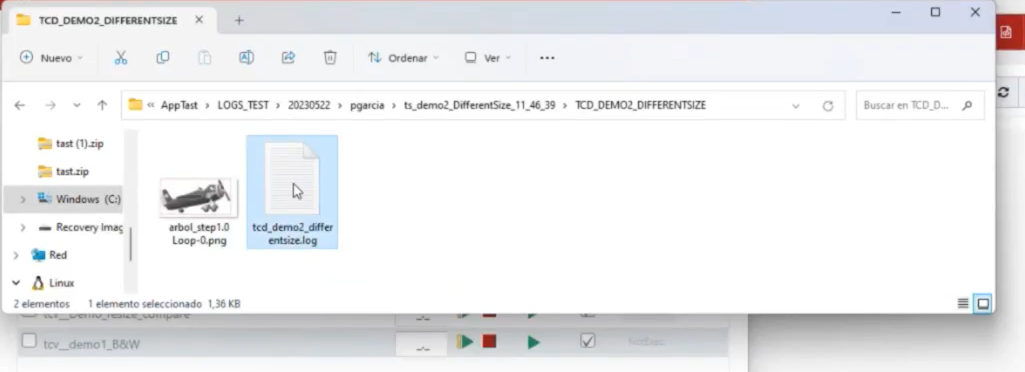
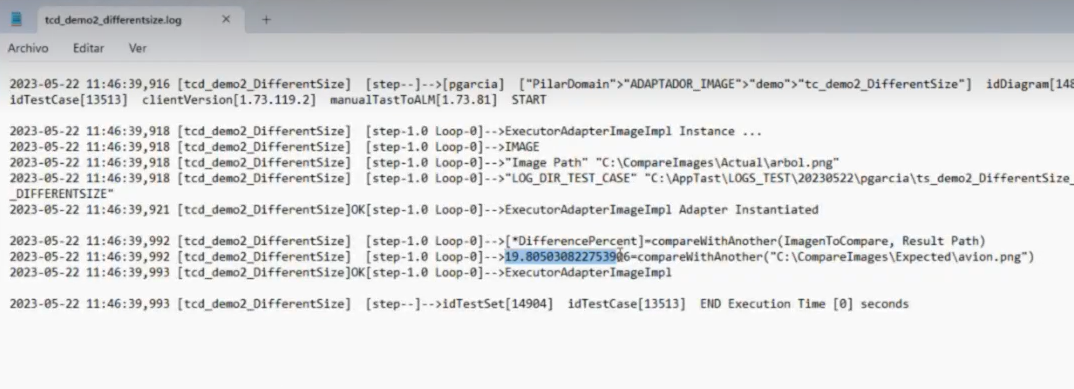
Second example: compare equal images of different sizes.
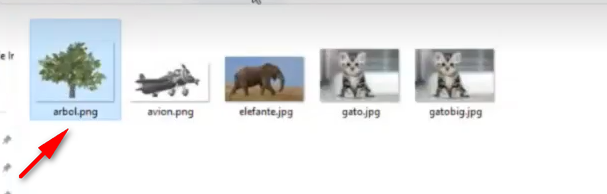
It is still the image of the tree we used in the previous example.

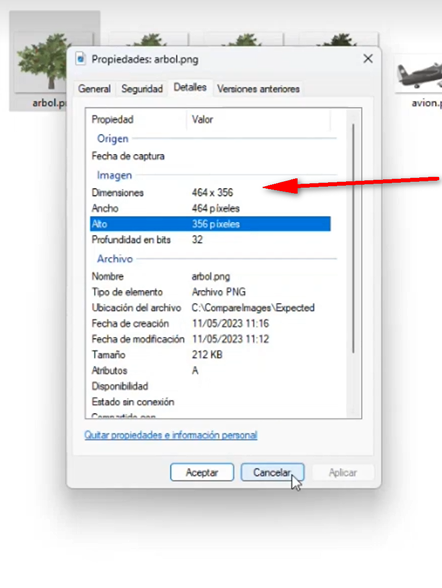
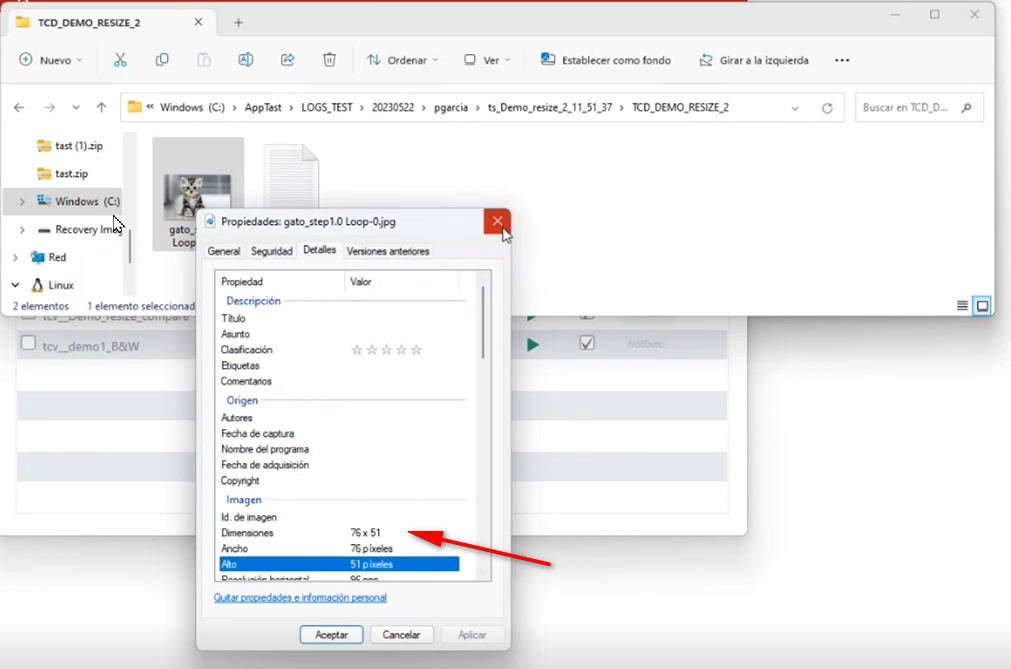
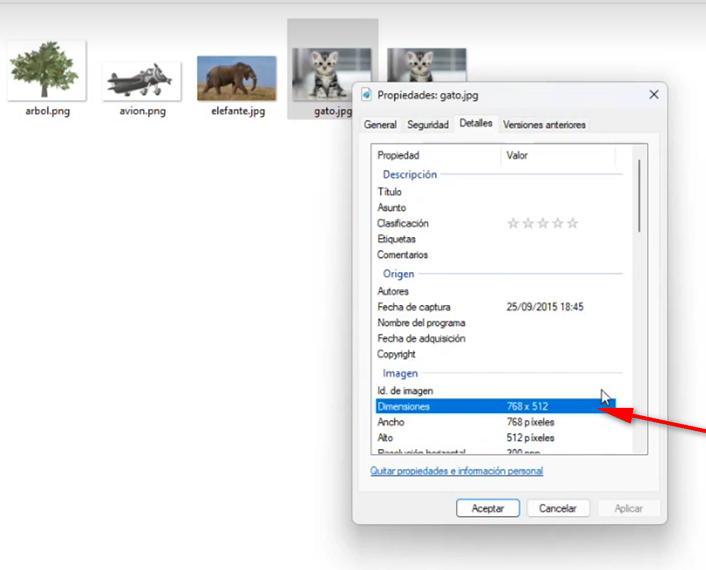
The size of this photo has the following dimensions:
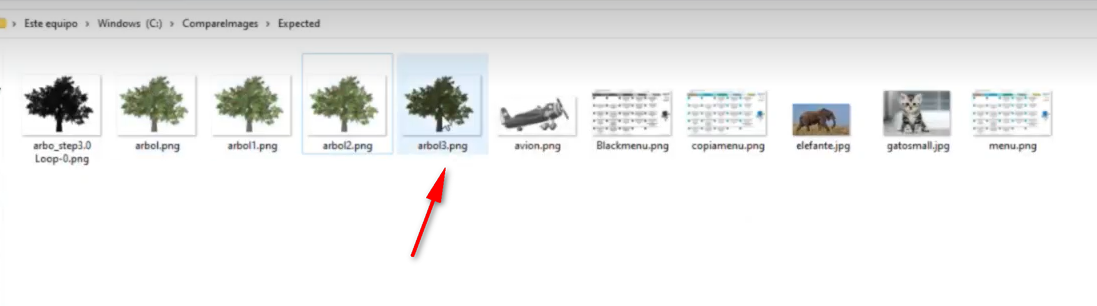
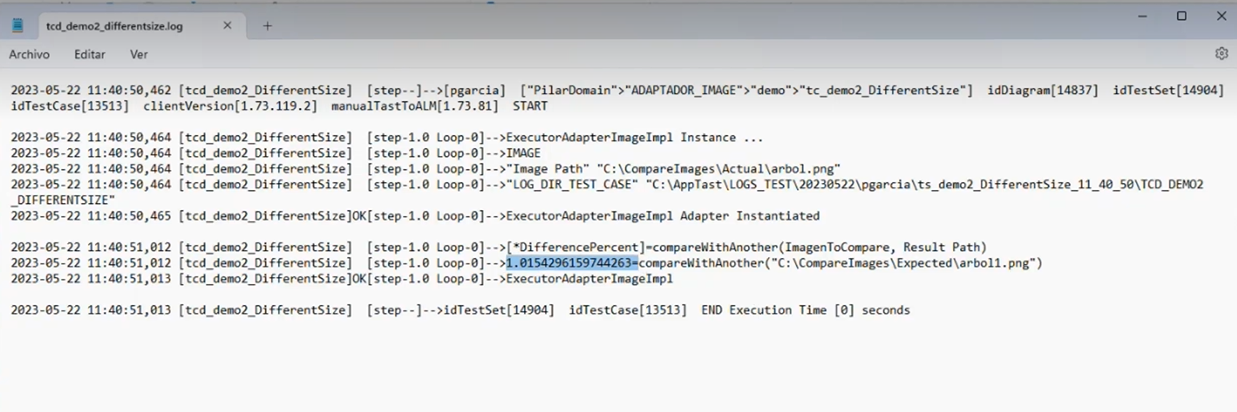
Now we will compare it against:
There are exactly the same image, but this second one, if we open the details tab, has the following size:
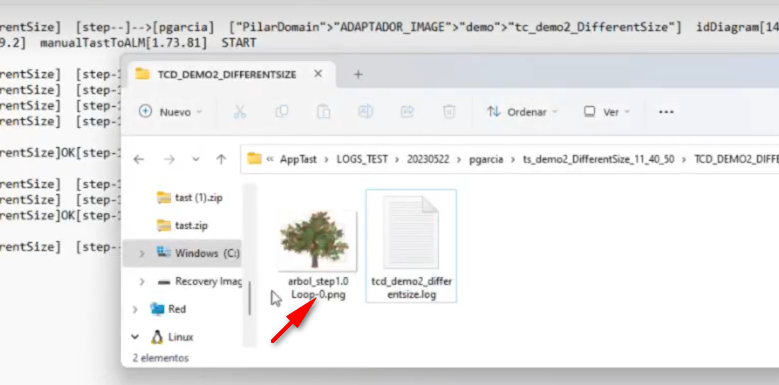
Run the case:IMAGEN NO VALE
And then it tells us the percentage of the difference is:

In this example, it does find differences.
As the images are different, it will mark the differences it finds by framing them in a red box.

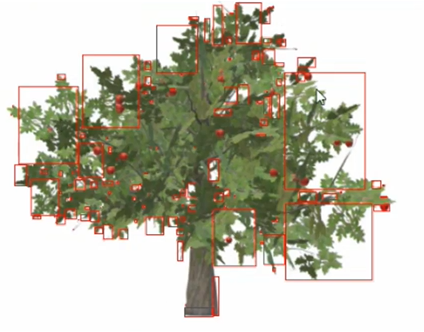
Note: up to 10, can be the same image that has been resized and placed in black and white.
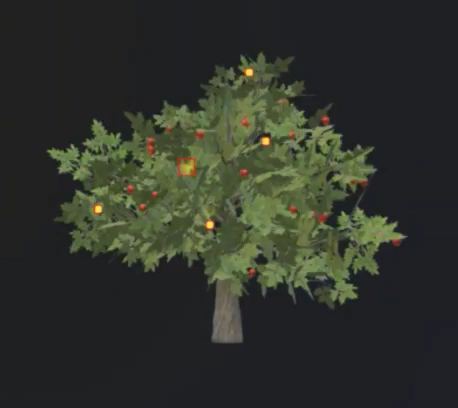
Third example: changes in the image.
In this example, yellow balls have been added. It is the same image and the same size.

When run the case: IMAGEN NO VALE


It is marking the differences he finds, which are precisely the yellow balls, added with a red box.

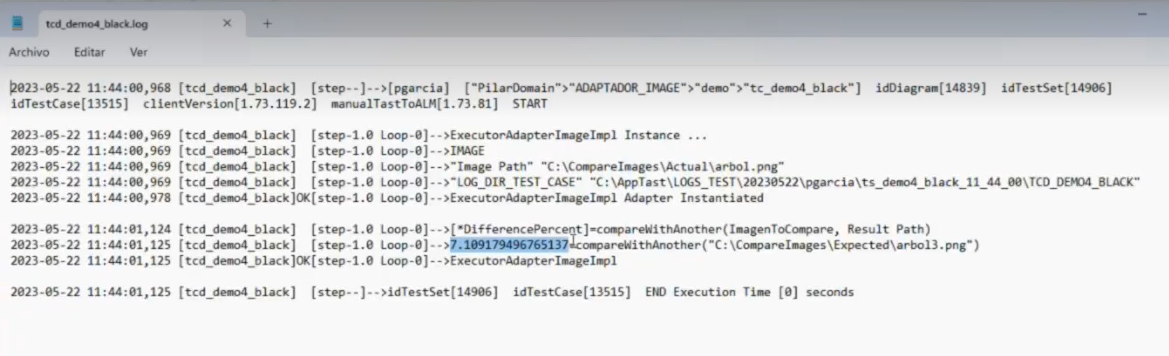
Fourth example: same image in shadow.
In this example, it will be compared with same image, but more shaded.
It tells us that the image is different in its entirety, as it frames it all in red:
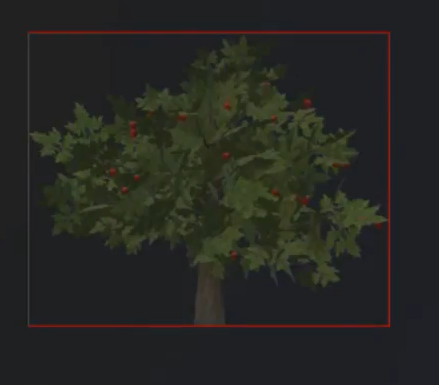

But as it is the same image the difference it finds in not vert high. As can be seen in the image below.

Fifth example: two different images.
If we compare two completely different images, the difference starts at 20%.
In this example, we choose to compare the image of the plane.


In the TCD folder, it returns the second image, the image of the plane. IMAGEN NO VALE
The difference approaches 20. When it approaches 20, the image has nothing to do with each other.
-
-
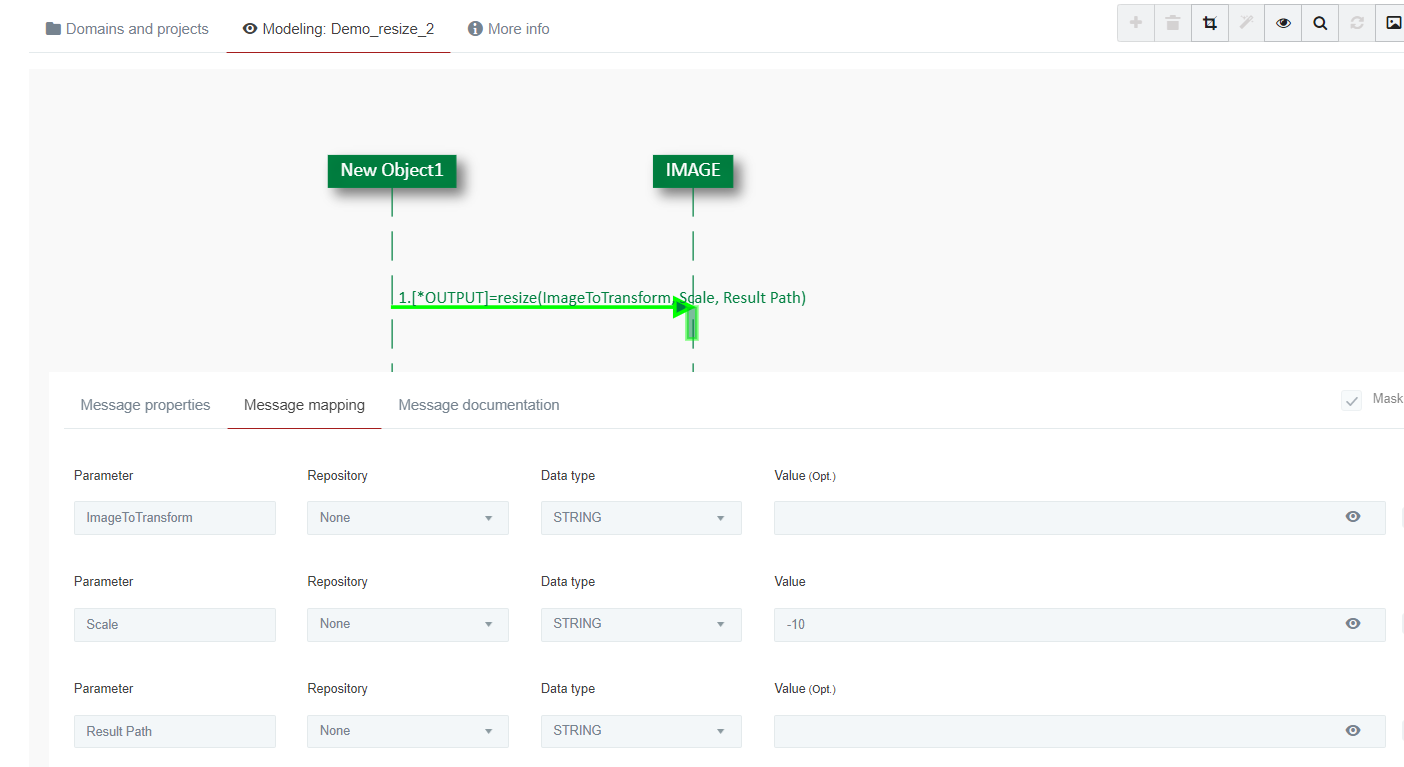
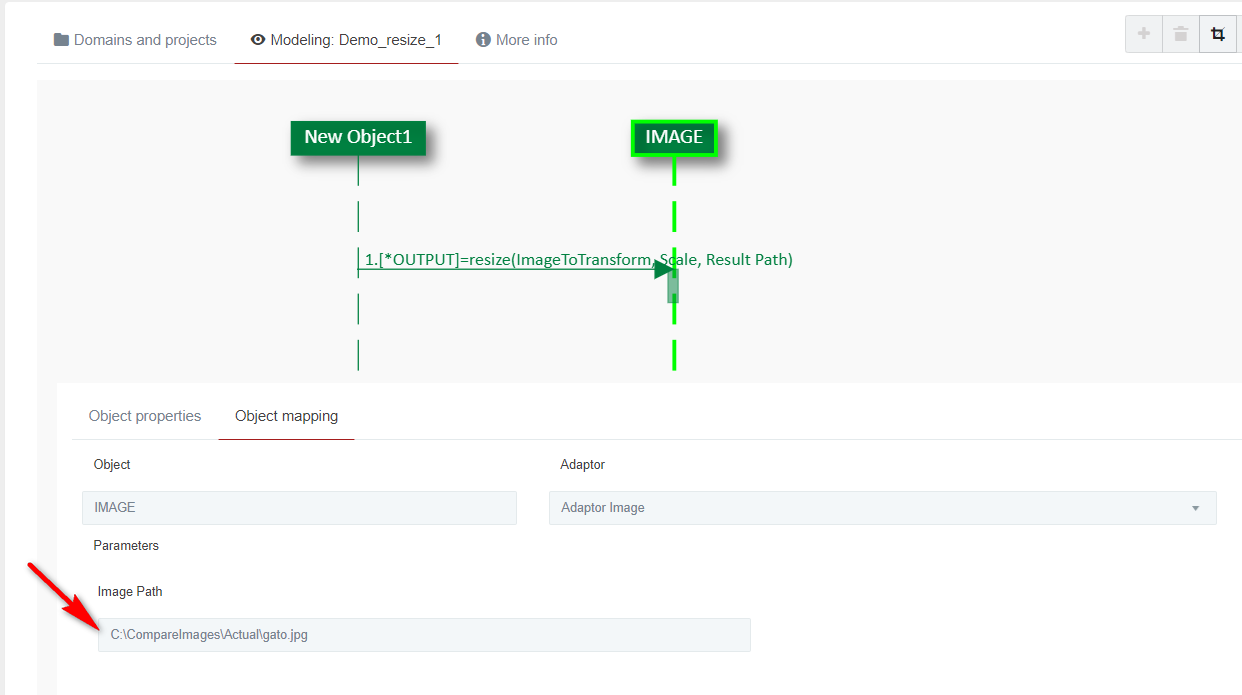
Resize: Allows you to reasize an image. It has three input parameters:
-
ImageToTransform: path of the image to transform. This is optional. If the user does not enter a path, TAST uses the path of the image adapter.
-
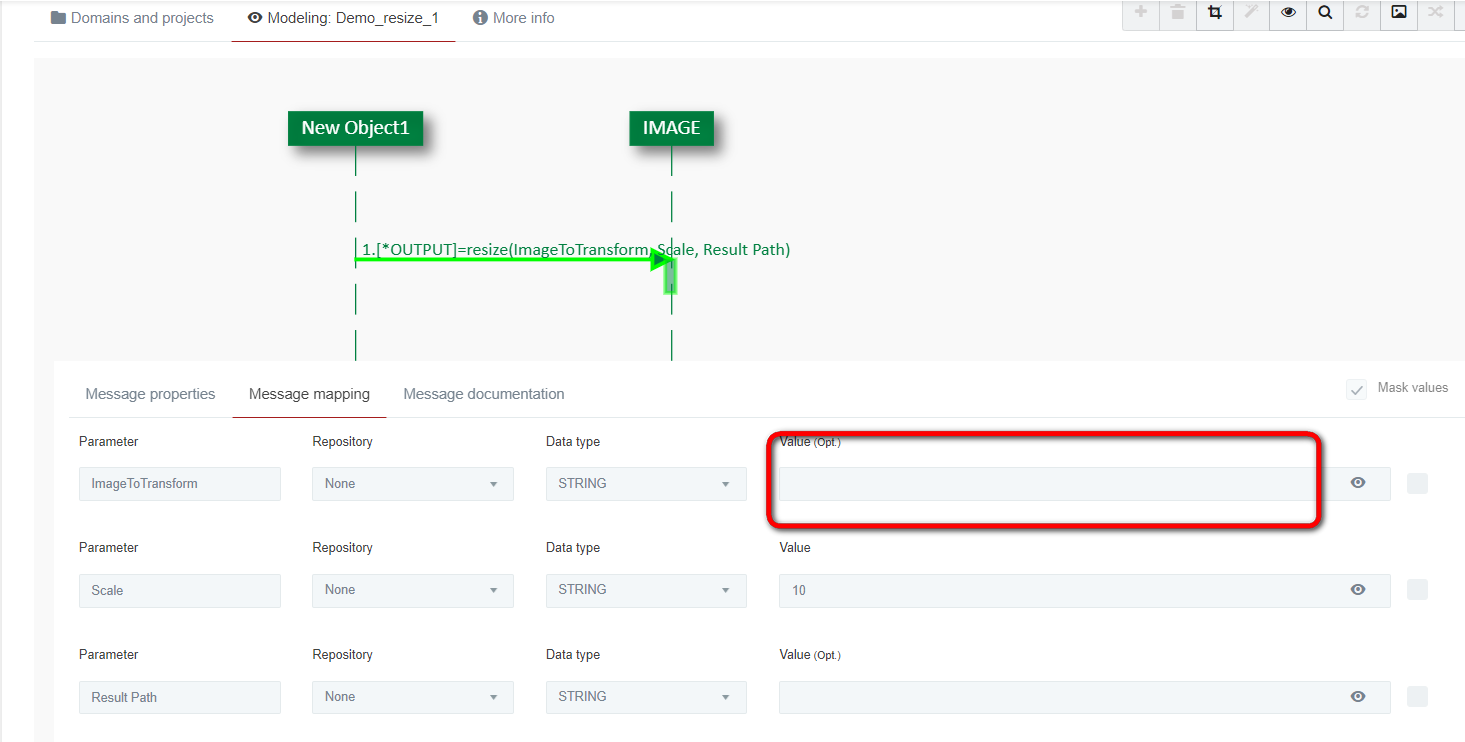
Scale: is mandatory, if the number is positive, it enlarges the image. If it is a negative number, it reduces the image.
-
ResultPath: path to the folder where to leave the result. This is optional. If empty, the resulting image will be in the TCD path.
Let´s look at some examples:
First example: enlarging an image.
We have chosen an image, in this case, the image of a cat:

IMPORTANT: This function also allows us to resize another image. If we fill in this value (frame below in red), it will resize the image we set, not the one the adapter has in its configuration.
In our example we are going to enlarge the image of the cat. We add the value 10.

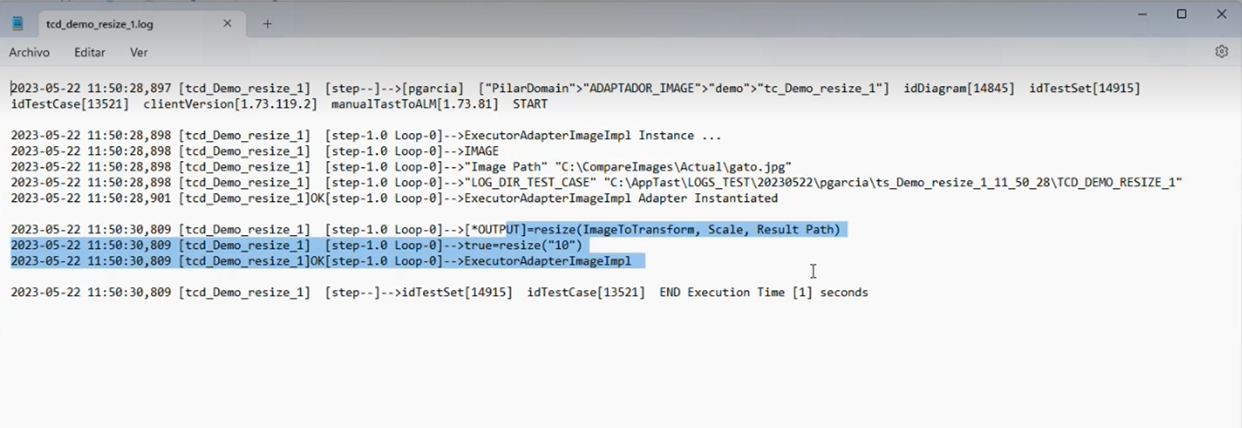
We run the test case. IMAGEN NO VALE

The result tells us that it went well:

And we get as a result the enlarged image of the cat. If we go to properties, we see that the size of the image is ten times bigger.
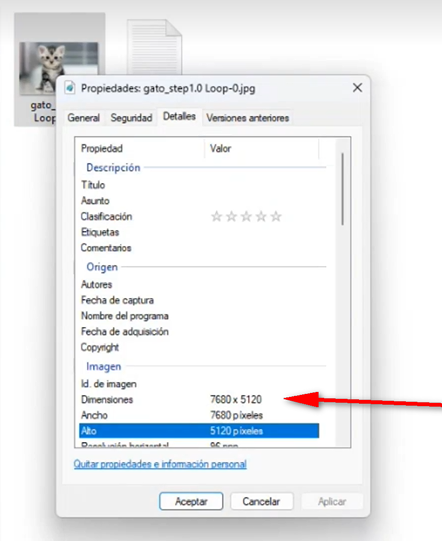
Since the size of the initial image, with which we started from, was of:

Second example: reducing an image.
We start from the same initial image and to reduce it we ass the value -10:
The result is a very small image of the cat. If we go to properties, we see that the size of the image is ten times smaller. IMAGEN NO VALE
IMPORTANT: If we now want to compare the enlarged image and the reduce image, we must set in the adapter configuration the large image so that it compares it with the small image, in this way we shorten the time it takes to generate the resulting image. Because the result is a third image that is generated from the second image (not the one from the adapter). Therefore, if the second image is very large, it will take the adapter a long time to copy it.
-


-
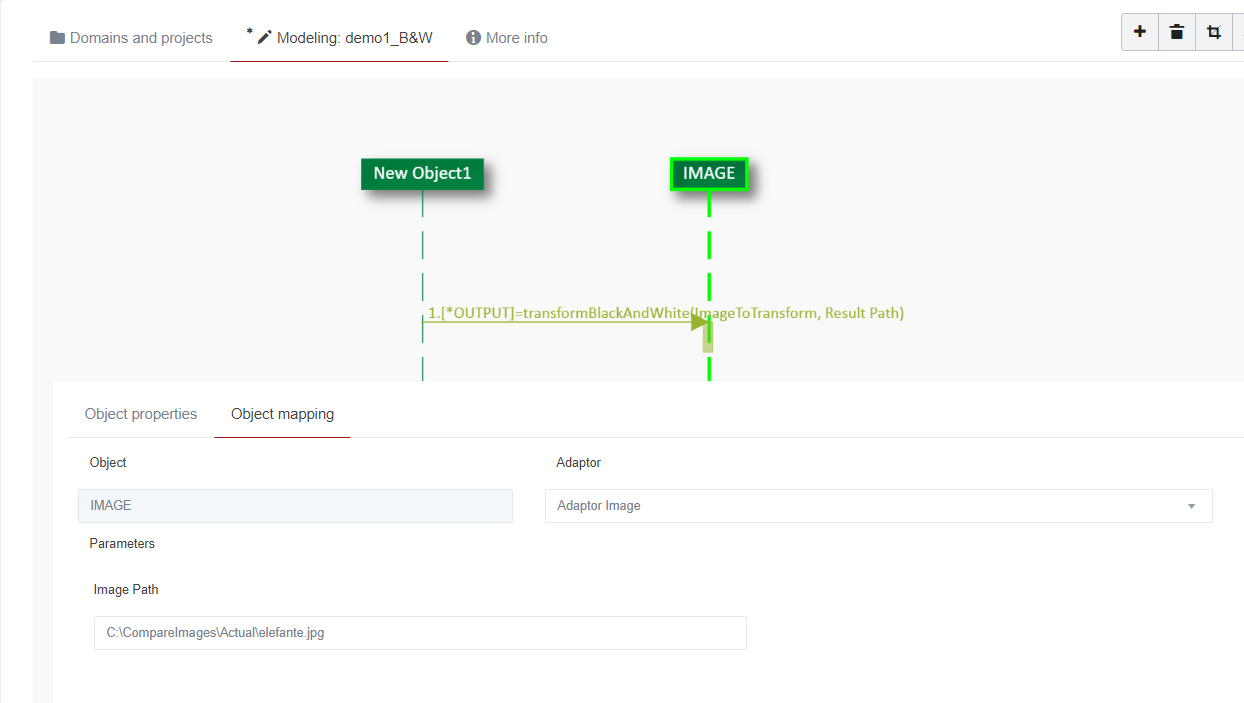
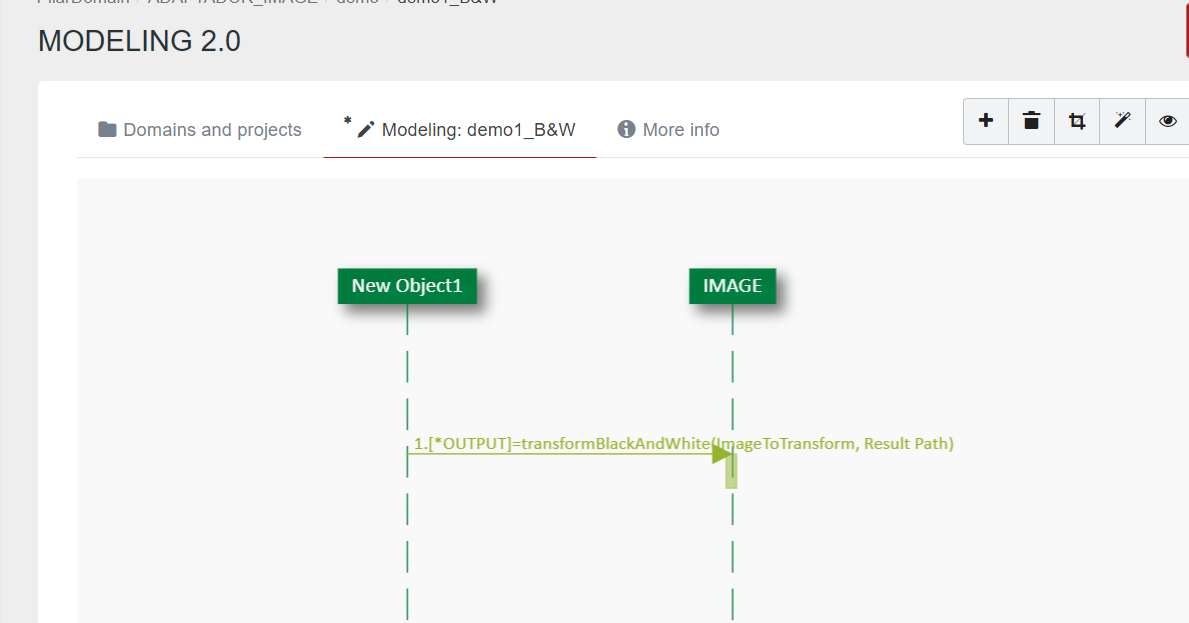
transformBlackAndWhite: allows you to transform a colour image into a black and white image. It has two input parameters:
-
ImageToTranform: path of the image to transform. This is optional. If the user does not enter a path, TAST uses the path of the image adapter.
-
ResultPath: path to the folder where to leave the result. This is optional. If empty, the resulting image will be in the TCD path.
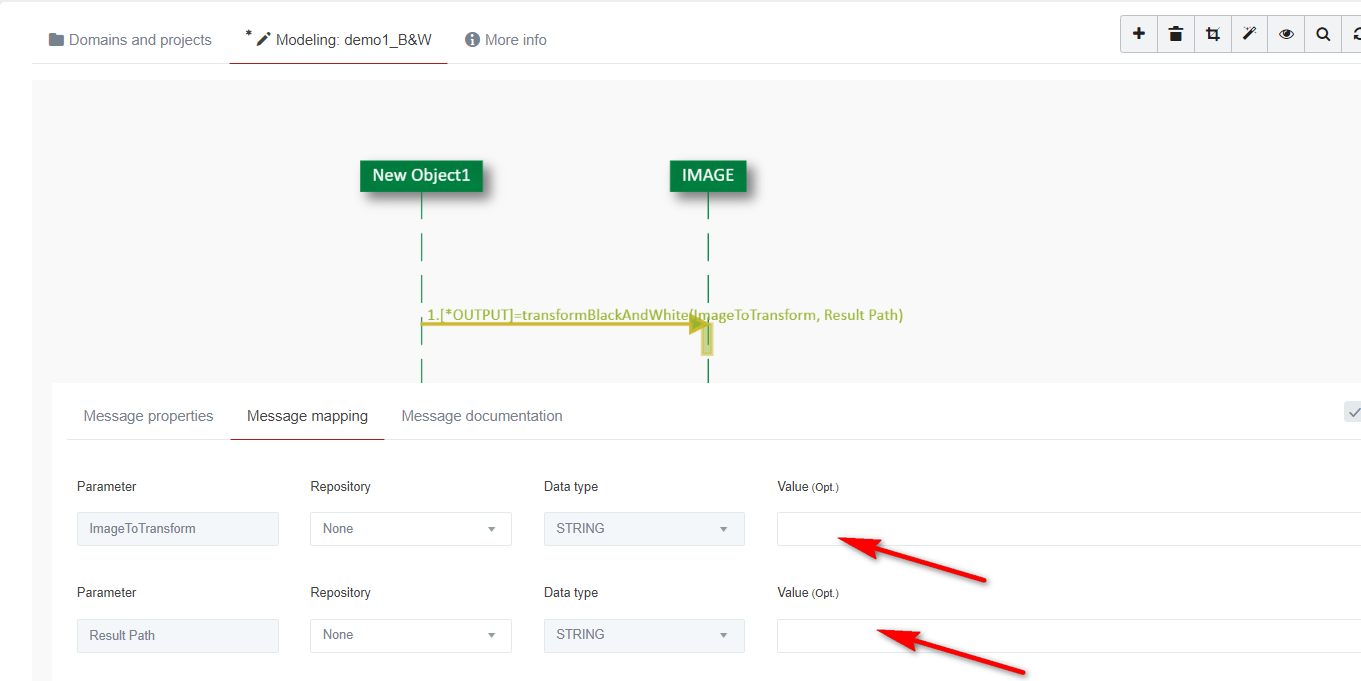
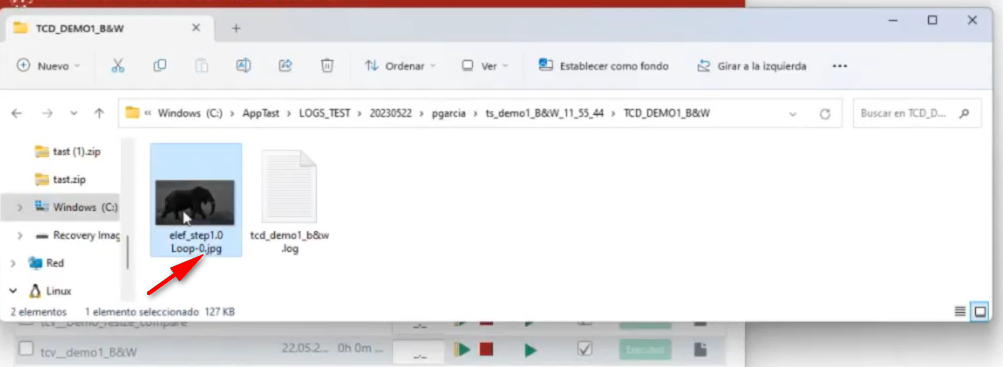
Here is an example: IMAGEN NO VALE
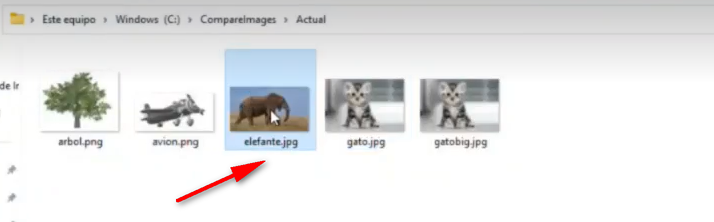
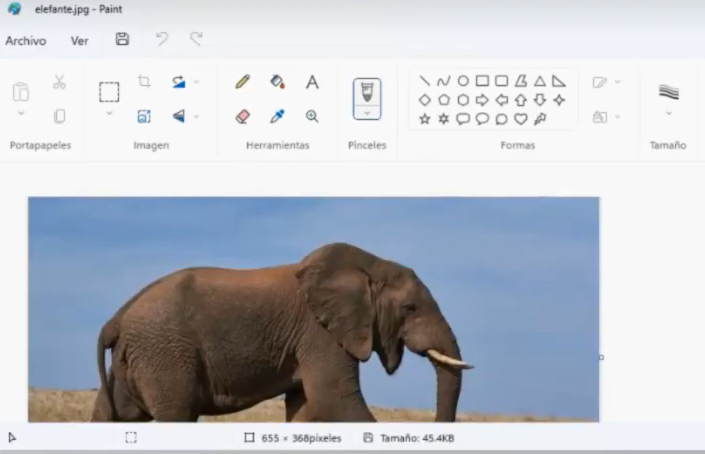
We have chosen an image, in this case, the image of an elephant. This is the image we put on the adapter.


We do not fill in any of the parameters. So what it will do is transform the colour elephant image into a black and white elephant image.

Run the test case IMAGEN NO VALE
The result is the elephant transformed into black and white:


-